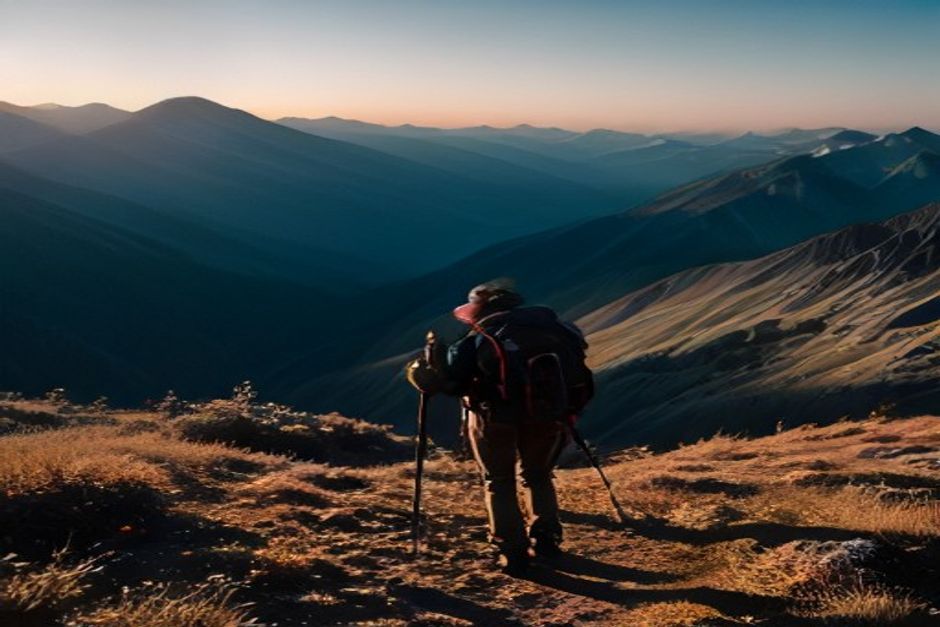
Hiking has a fitness secret: the hard part isn't going up. Climbing is honest work — heart pounding, lungs earning their keep — but it's the descent that writes tomorrow's complaint letter. Walking downhill loads your quadriceps eccentrically: the muscle lengthens under tension with every step, acting as a brake for your entire body weight plus pack, thousands of times in a row. Eccentric loading is exactly the kind of work that produces next-day soreness and, over a season, grumbly knees. Yoga can't repeal physics, but a few targeted minutes before and after a hike change how the miles land. This is the practical version — no mat required for the first half, boots optional for the second. (If you want the longer treatment, see yoga for hikers, the full guide.)
Before: the five-minute trailhead warm-up
Cold muscles on an immediate climb is how calves and IT bands start their arguments. Do this in the parking lot, dignity optional — everyone else is adjusting their pack straps anyway.
- Ankle circles and calf raises, 30 seconds each side, holding the car if needed. Ankles are your suspension; wake them up.
- Leg swings, ten forward-back and ten side-to-side per leg. Dynamic, not held — you're greasing the hip hinge, not stretching.
- Ten slow squats to a comfortable depth, heels down if they go. This is the exact movement pattern of stepping down off rocks, rehearsed without load.
- A standing figure-four, thirty seconds per side — ankle over the opposite knee, sit back, hold the car or a tree. Hips that have been driving for two hours deserve a head start; the pose page has the details.
- Ten torso circles, hands on hips. Your spine is about to carry a pack for hours; introduce yourself to it first.
On the trail: posture and poles
Two things quietly wreck hikers' necks and backs. The first is the pack hunch — head drifting forward of the shoulders under load, adding leverage your neck muscles pay for by the hour. Every time you remember, slide your chin back and let the pack rest on your hips via the hip belt, not hang off your shoulders; a hip belt carrying 70% of the weight is the single best back-care decision in hiking. The second is trekking-pole collapse: poles set too long make you hike with shrugged shoulders; too short and you lean forward all day. Set them so your elbow is near ninety degrees on flat ground, shorten them slightly for climbs, lengthen for descents. And on downhills, resist the urge to lean back and brake with straight, locked legs — soft knees and slightly shorter steps distribute the impact the way your knees, which are hinges, not shock absorbers, prefer.
After: the fifteen-minute recovery sequence
Do this within a couple of hours of finishing, before the stiffness sets its plans for you. Slow breathing throughout; nothing here should hurt.
Low lunge — Anjaneyasana
How: Back knee on something soft, front knee over the ankle, hands on the front thigh or hips. Let the pelvis settle forward and down for a minute per side. A gentle tuck of the tailbone deepens it honestly.
Why: Hours of hip flexion — every uphill step, every high step over a log — shorten the hip flexors, and they repay you by tugging the low back tomorrow. Low Lunge is the direct antidote.
Standing forward fold, bent knees — for the back line
How: Feet hip-width, knees generously bent, fold and hold opposite elbows. Sway if it feels good. One to two minutes.
Why: Calves and hamstrings take the downhill braking load along with the quads. Bent knees let the back of the legs release without recruiting the low back into a tug-of-war.
Legs up the wall — Viparita Karani
How: Sit sideways against a wall (or a tree, or your tent), swing the legs up, and scoot close. Five to ten minutes. Arms wherever they're comfortable.
Why: The classic recovery inversion: it lets fluid that pooled in the lower legs all day drain back, and it is the single most convincing argument that doing nothing is a technique. Full setup notes are on the pose page.
The day after
Delayed soreness peaks around 24–48 hours out, which is why the morning after a big hike is when people swear off hiking. The fix is unglamorous: a ten-minute walk, a few cat-cows, and another round of legs up the wall beat total stillness. Movement circulates; the couch consolidates. And if knee pain — sharp, localized, or swelling — shows up rather than ordinary soreness, that's a different category: ease off descents, consider poles if you don't use them, and get persistent symptoms assessed by a professional. Soreness is information; pain is a memo worth reading twice.